Queer Food for Shared Tables


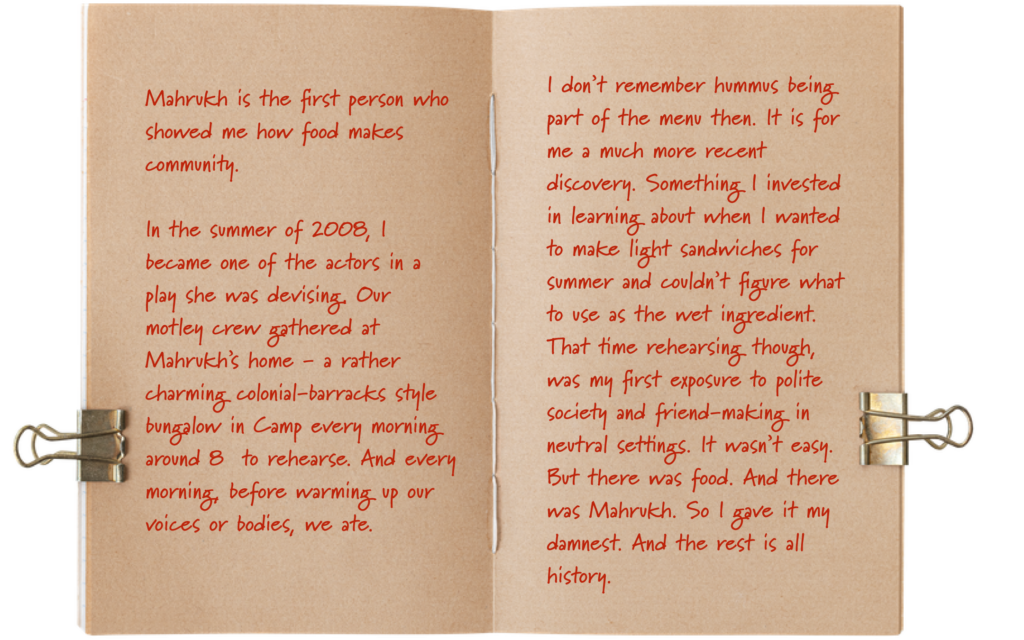


“These are pages from my queer family cookbook, a project that keeps growing, morphing, giving me joy and inspiration. All recipes mentioned here have been sourced from my family, undefined by blood or the length of time we spent together.
It’s meant to feed you and those you invite (and those who sometimes invite themselves).
Come, let’s eat.”
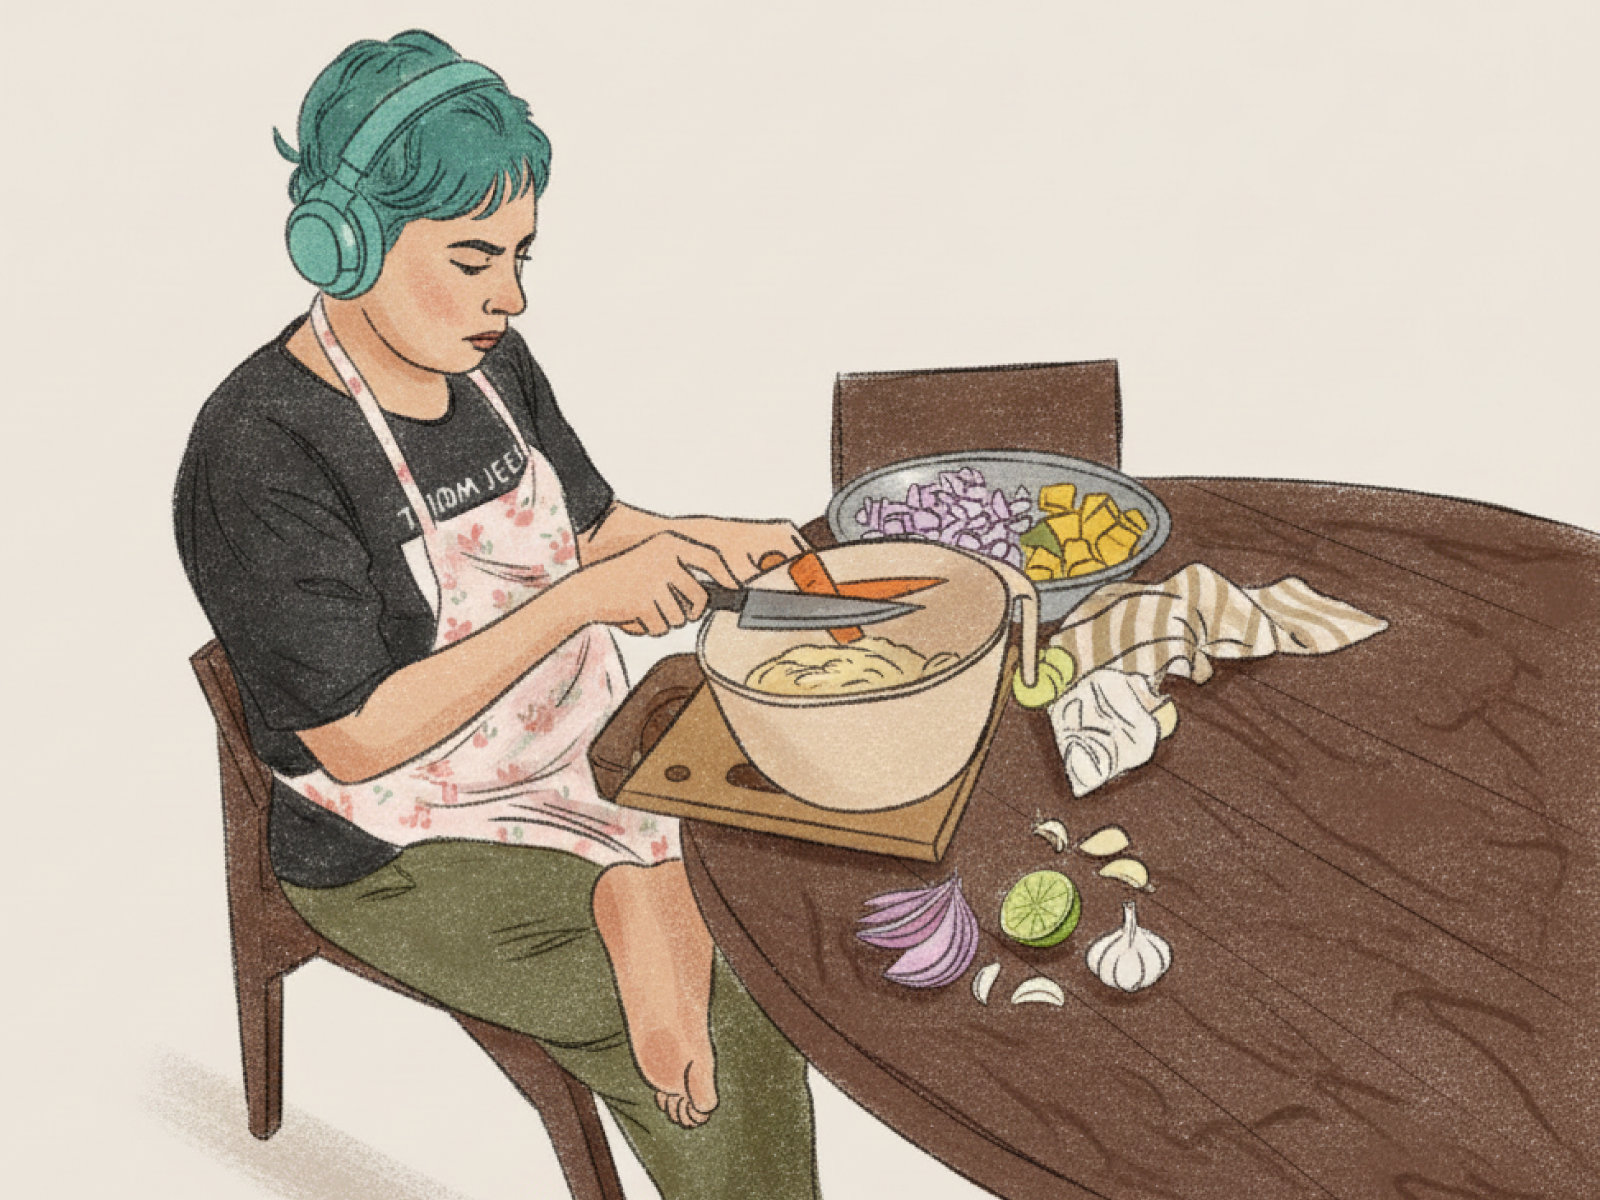
Steps:
Steps:
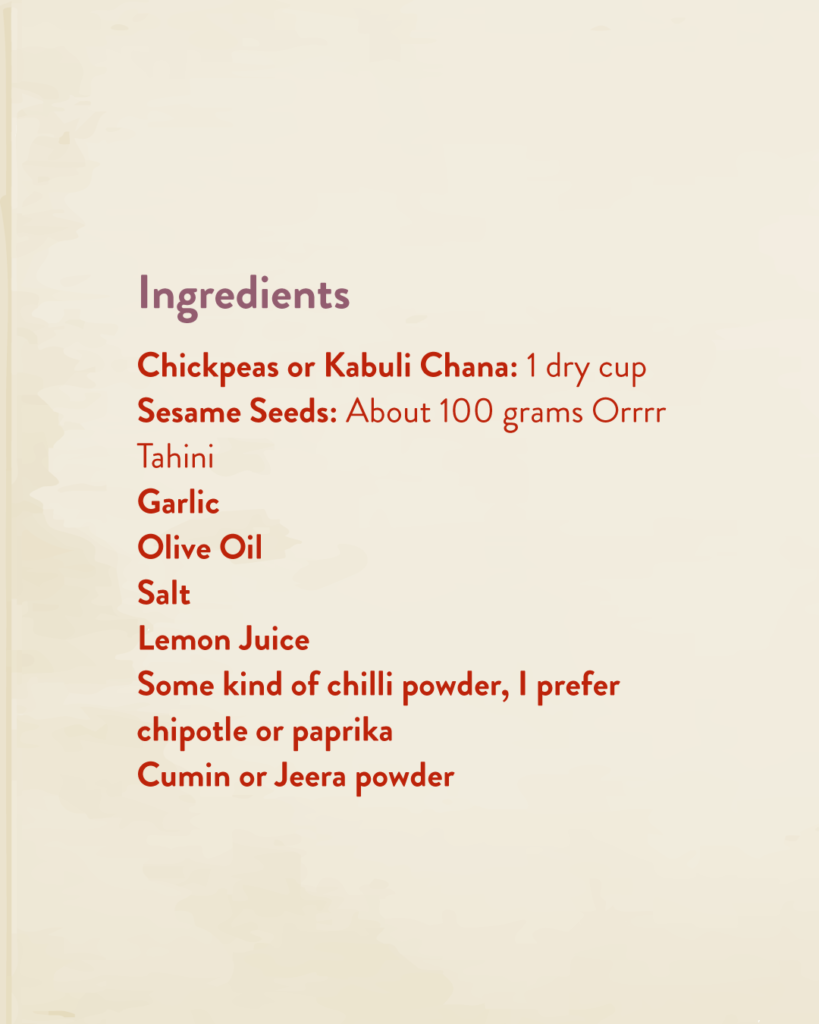
To know more about the histories of hummus, fascinating cookbooks from the Abbasid era and the infamous hummus war between Israel and Lebanon, which makes me wish that was the only kind of conflict in the middle-east, read this and then this.
Mahrukh and I would also like to acknowledge the OG recipes of Suzy Karadsheh, founder of The Mediterranean Dish and Blanche Shaheen, author of Feast in the Middle East.
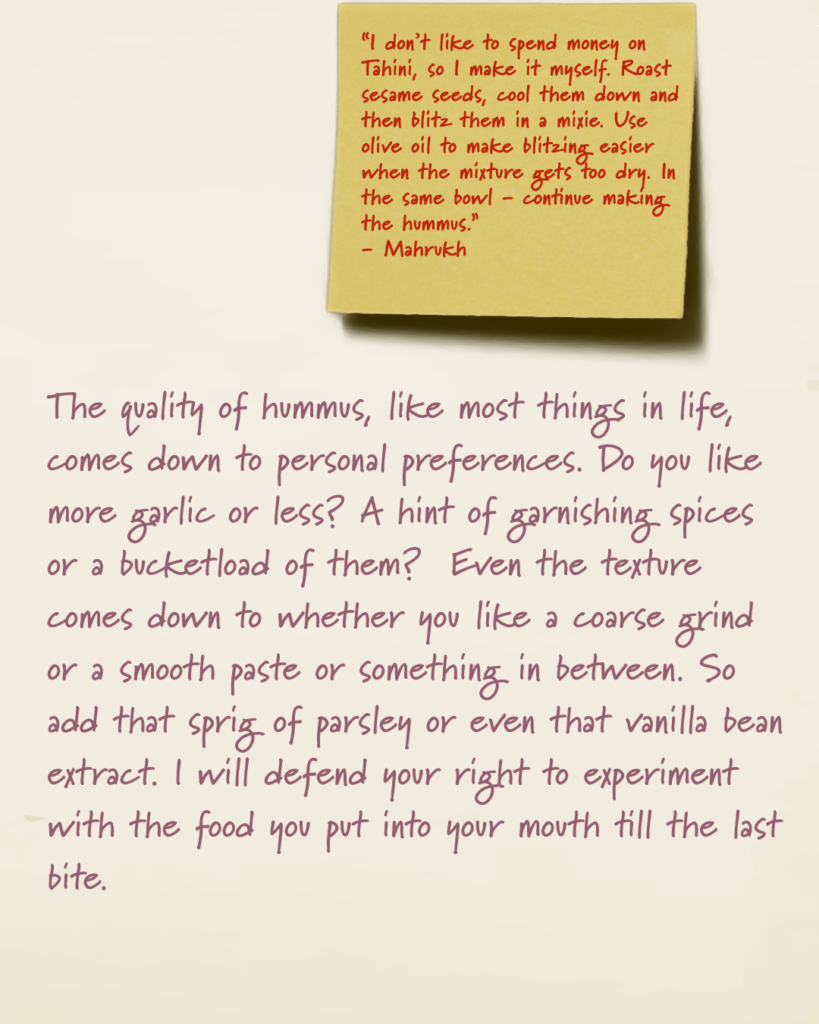
Steps:
Food Illustrations by Alafiya Hasan
Become a part of a community dedicated to reclaiming its space in literature, cinema, and the visual arts. The Queer Muslim Futures Archive serves as a vital platform for connection, dialogue, and collective reimagination for queer Muslims.
E-mail: info@tqmp.in